
Motivation
We distribute several tools internally that we want to ensure are code-signed (particularly ClickOnce applications).
The goals were:
- Anyone on the team could build and publish the tools (including ClickOnce tools).
- No team member has to go through manual steps: they should be able to sync and build.
- No UI popups during the build (such as passwords).
- No trust issues when using the tools–Certificates are trusted.
Publishing ClickOnce applications requires strong name signing all assemblies and using a certificate to sign the ClickOnce manifest. We needed to get a certificate with both public and private keys to be able to do so.
To enable anyone on the team to be able to sign the application, I wanted to be able to submit our certificate (with both public and private key) into Perforce so it is synced with the tools. This would solve 1 & 2.
Submitting a certificate to Perforce would be a security issue if the certificate is issued by an external authority trusted by Windows users. To facilitate this, we set up our own Certificate Server. Certificate Server is a Certificate Authority that can be joined to the domain, so all domain users would trust certificates issued by this authority, yet not trusted by any normal Windows user. We can then issue code signing certificates at will. This solves 4.
These certificates also allow using Group Policy Objects to control access to the certificate, removing the need for a password. This solves 3.
Environment
We run Windows Server 2012 R2 for our domain servers and Windows 8.1 for client machines.
Set Up Certificate Server
On the Domain Controller:
- Go to Server Manager
- Manage
- Add Roles and Features
- Role-based or feature-based installation
- Select the current server
- Active Directory Certificate Services, including:
- Certificate Authority
- Certificate Enrollment Policy Web Service
- Certificate Enrollment Web Service
- Certificate Authority Web Enrollment
- Note that additional requirements will automatically be included, such as IIS.
- Finish the installation
After installation and possibly reboot, there will be a task to configure the Certificate Authority. Configure the server as an Enterprise CA. This will simplify requesting new certificates dramatically and enable functionality not available in the non-Enterprise scenario.
Now let’s add the code signing template to the Certificate Authority.
- Start CertMgr.msc
- Click on “Certificate Templates”
- Action->New->Certificate Template to Issue
- Select “Code Signing”
- OK
Generate the Certificate into Your Personal Certificate Store
- Download CodeSigningKeyRequest.inf on GitHub locally
- Start cmd.exe
- Change to the download directory
- certreq -new CodeSigningKeyRequest.inf CodeSigningKeyRequest.req
- certreq -submit CodeSigningKeyRequest.req
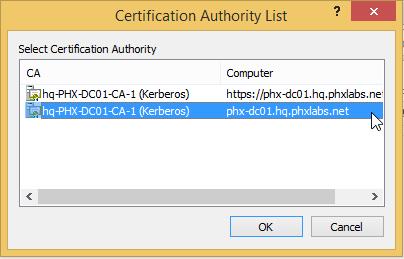
It should pop up a dialog to select a certificate authority. Select the second.
A save dialog will appear. Save the file as a .cer in the same location as the .req file.
- certreq -accept CodeSigningKeyRequest.cer
This will import the certificate into your personal certificate store with the private key.
Signing Assemblies
Export the Certificate to a Strong Name Key (SNK) File
- Run ExportCert.exe (available from: ExportCert on GitHub)
- Double click on the certificate from the certificate store

Note: only certificates that are valid for code signing with the enhanced key usage extensions defined in the inf file above will be listed.
- Save the file (to an snk file)
- Add the file to source-control
Configure the Project for Signing
- Open the solution.
- Right-click on the project
- Add Existing File (Note: doing this from any other location in the project in the root will result in the snk file not showing up in the drop-down for choosing the snk file. Once the snk file is chosen, you can move it after).
- Select the exported strong-name key file
- Select “Add As Link”:

- Right Click on the Project
- Select Properties
- Select the Signing tab
- Enable “Sign the Assembly”
- Select the snk file in the “Choose a strong name key file”
Signing Click Once Assemblies
Export the Certificate
- Run certmgr.msc from the command line
- Find the certificate in your certificate store. It should appear under Personal\Certificate with your user name and the same CA issuer you selected above. It will also specify an “Intended Purposes” of “Code Signing”.

- Open the certificate (double click or right click and open)
- Details Tab
- Copy To File button
- In the wizard, select:
- Yes, Export the private key, Next
- Accept the default, Next
- Use Group or User Names, Add
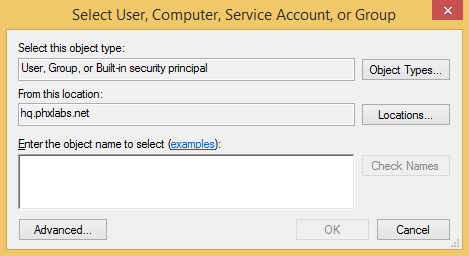
- Select Advanced
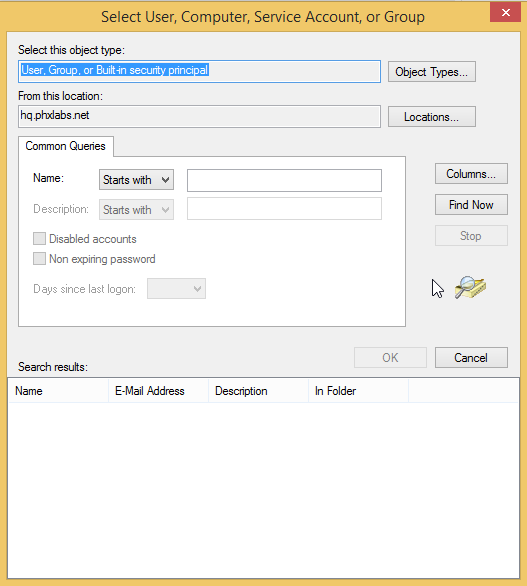
- Select Find Now
- Find “Domain Users” in the Search Results and double-click on it.
- Select OK
- Remove yourself from the user list.
- Next
- Save the pfx file out
Signing Assemblies with the Certificate
- Open the solution.
- Right-click on the project
- Add Existing File (Note: doing this from any other location in the project in the root will result in the snk file not showing up in the drop-down for choosing the snk file. Once the snk file is chosen, you can move it after).
- Select the exported strong name key file
- Select “Add As Link”:
- Right Click on the Project
- Select Properties
- Select the Signing tab
- Enable “Sign the ClickOnce manifests”
- Choose “Select from File”
- Select the pfx file. It should load automatically without requiring a password.
References
- CertReq.exe usage on TechNet – Includes the definition of the inf file format
- Extended Attribute OID for Code Signing
- How to Convert a PFX file to SNK – Includes a code sample to export the private key from the pfx file to the snk file. This has been implemented in the ExportCert.exe tool (but to do so from the user’s certificate store).
Wov, it saved my life. We’re stuck two weeks ago with that, and this part in ClickOnce is a little bit buggy imho.
Yes, it is. We ran into issues when we changed the project for publishing from msil to x64 (click once doesn’t like that and requires reinstall), certificate changes too, and idiosyncrasies on users’ machines could result in failure to install or update. When it came to delivering software for non-internal users (where we can’t trivially go in and fix up issues) we used InstallShield and our own patcher for https://playdauntless.com/ (fourth installer iteration). Fortunately we dogfood a lot of the internal logic of the patcher as it is shared with a number of our internal tools (besides Jenkins jobs to create builds and run automated tests), though we still have a lot of room to improve here.
I’ve noticed that Visual Studio 2010 provides an option to select a certificate from the store, which looks a lot simpler than what you described. Is there a reason not to do this?
I honestly don’t remember 🙂 I’ll have to try again and see if I can stumble on the motivation. I recall the PFX being nice to distribute with the security settings to allow domain users to open it without requiring a password.