
As described in https://www.oneoddsock.com/2022/04/02/personal-ci-cd/, the goal of setting up the CI/CD automation is to:
- Break up my more monolithic solutions into much smaller, more consumable components
- Automate testing of my code
- Improve potential for code sharing with others
- Greater visibility of code/test status through reporting
To facilitate this, I’ll structure my Visual Studio solutions in GitHub so Jenkins can access them and run builds and tests.
The sample project is published on GitHub for reference at: https://github.com/FineRedMist/jenkins-project-sample-dotnet
For reference, I’m using Visual Studio 2022 Community Edition. I’m configuring the projects to use .NET 6.0.
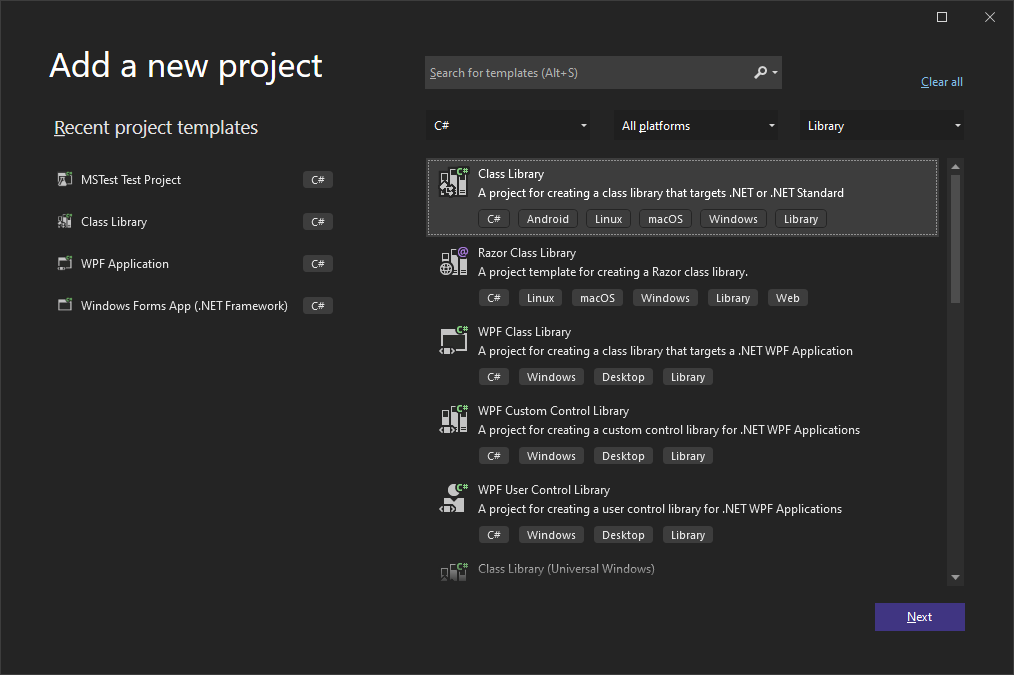
Solution Setup
I only have one sample library and one test library. However, the solution isn’t constrained to just that structure–more test libraries and more components could be included.
To get the structure we want, I’ll start from a Blank Solution and build from there.
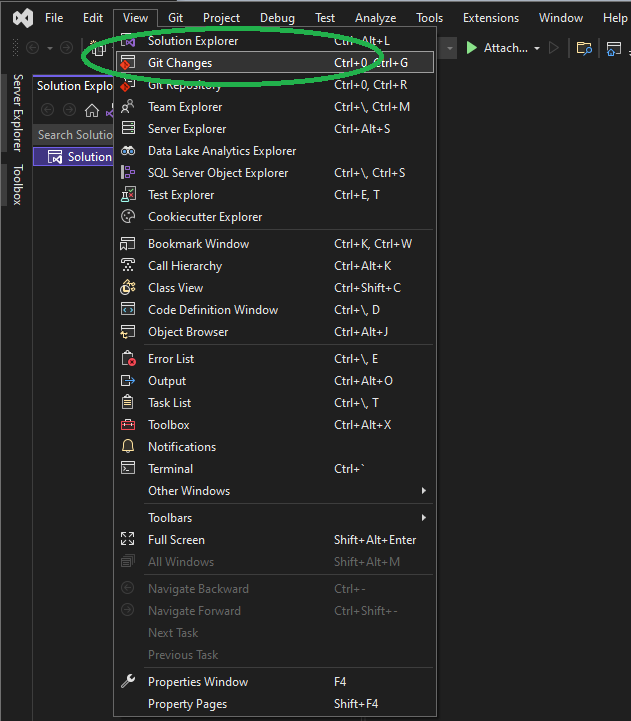
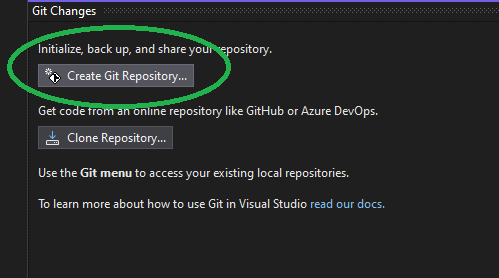
Now that the solution is made, we’ll add it to GitHub. First, we need to go to Git Changes.
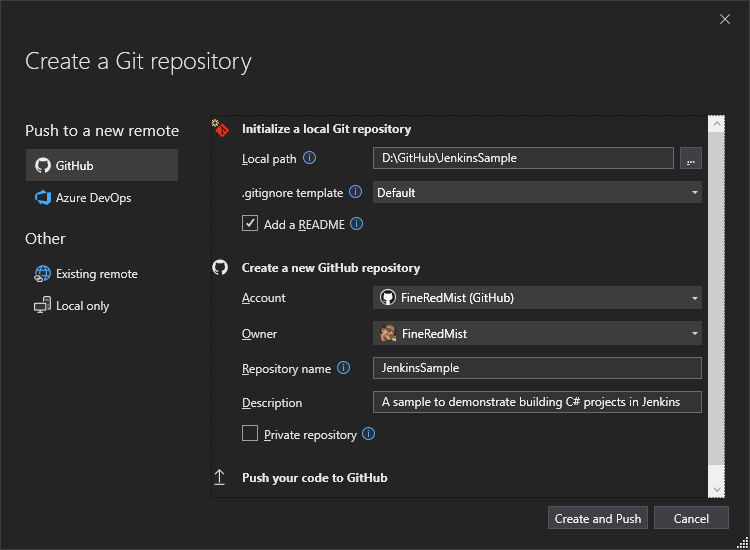
Then we’ll create a Git repository which will provide an option to push to GitHub automatically:
I’ve chosen to add a readme file for readers and to make the repository public so you can see what has been done for settings. I won’t go through setting up GitHub credentials here, but you can go https://docs.microsoft.com/en-us/visualstudio/version-control/git-settings?view=vs-2022 to get details for setting this up.
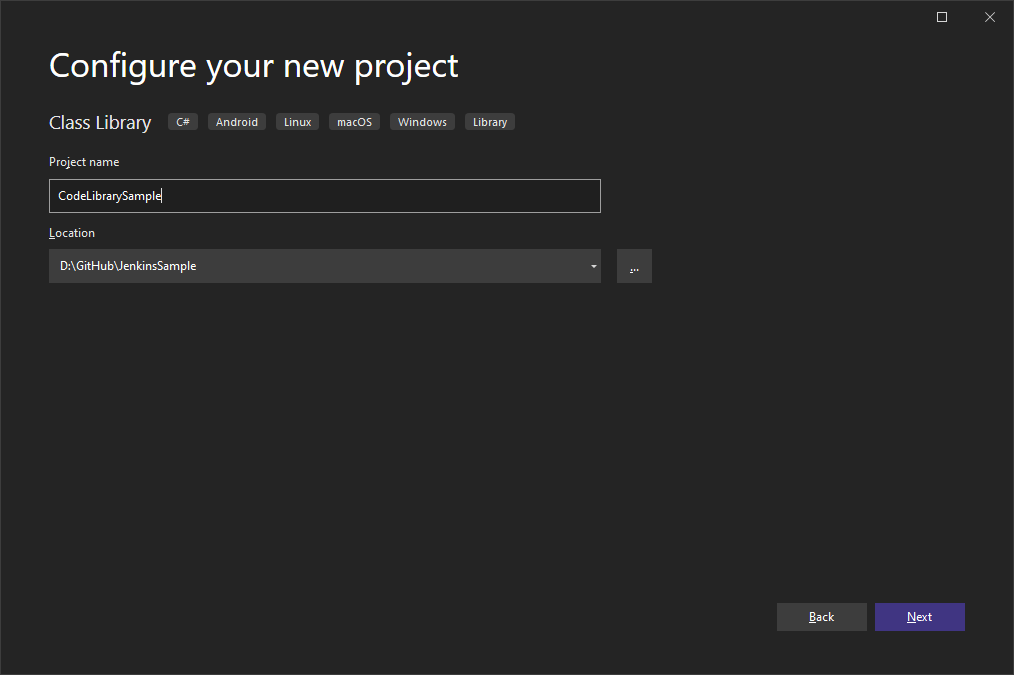
Now I’ll add the code library for this solution by adding a new project to the solution:
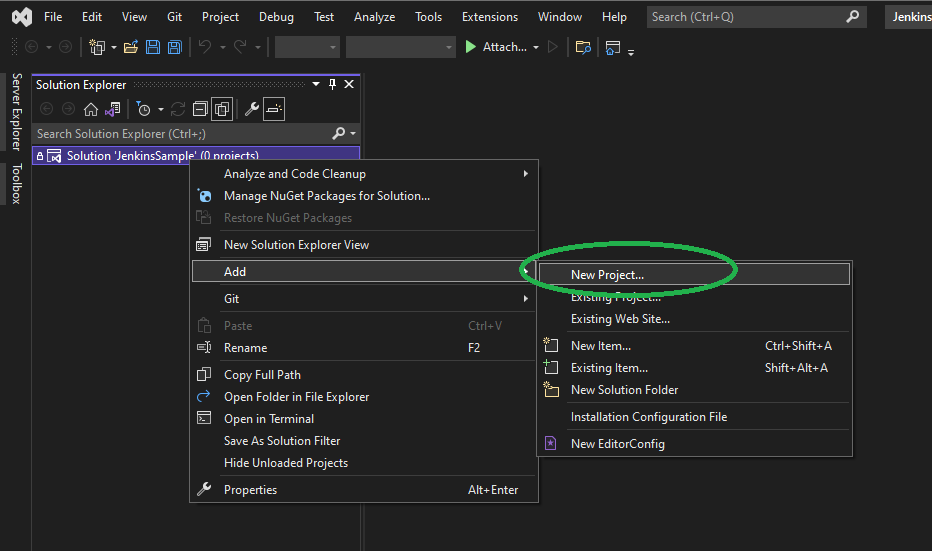
I want a class library, but that doesn’t prevent me from adding other kinds of projects for testing.
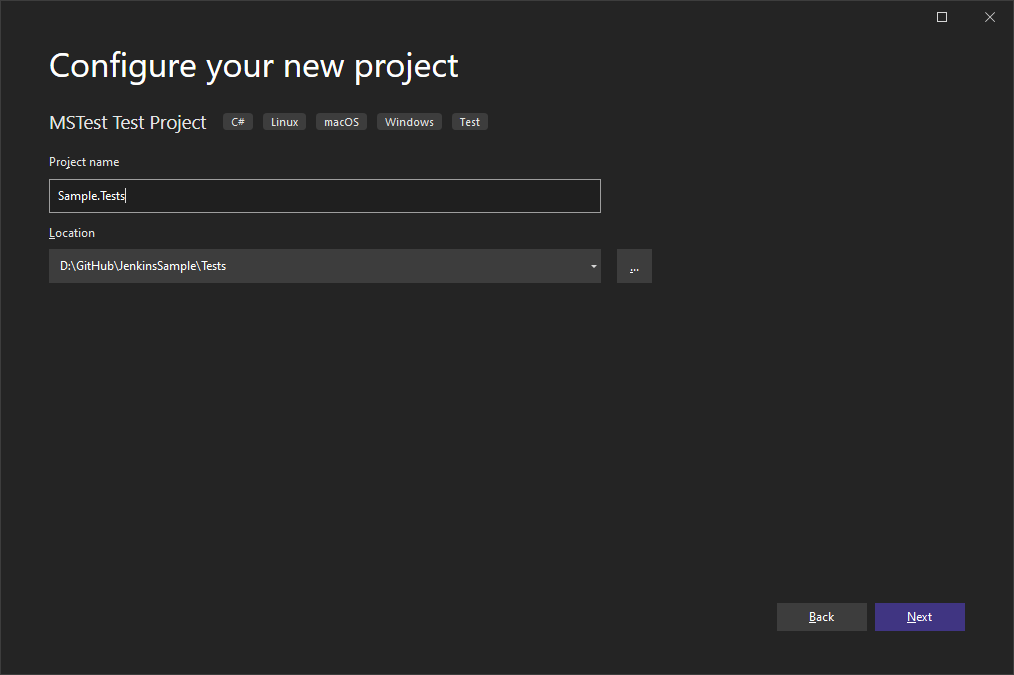
I’ll also add the test project (in this case, MSTest). The Jenkins testing will be based on this. I won’t go through the other testing options or their setup in Jenkins.
We will have some code searching for tests later, so we’ll have a naming convention of naming test projects as <test project name>.Tests.
This exercise’s last step is configuring the library settings to generate a NuGet package.
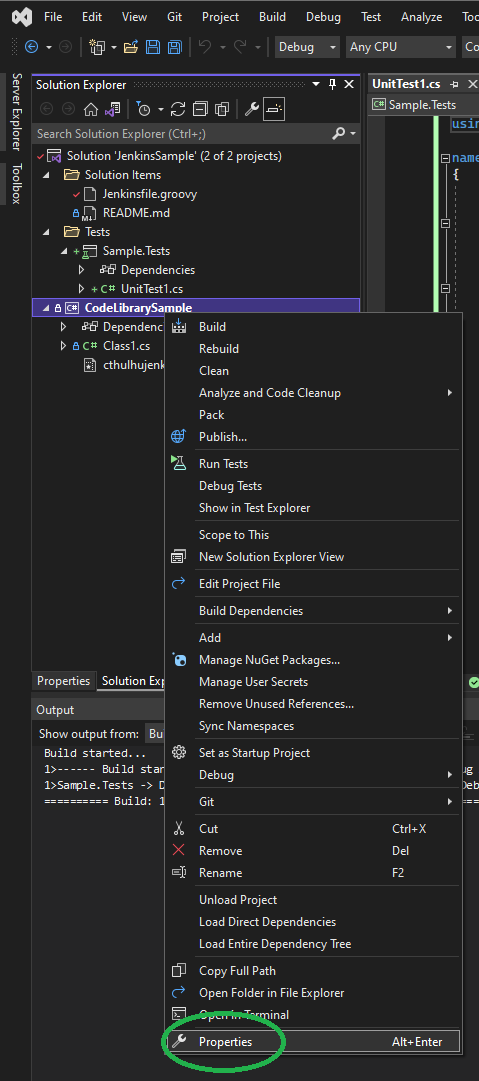
These are the settings I changed:
- Treat Warnings as Errors: I enable this to minimize the potential for errors
- Documentation File: I enable this as I want the NuGet packages that get generated to be documented
- Sign Assembly: I won’t enable signing the assembly yet, but I’m calling out the setting for later. This does require a code signing certificate to make this meaningful.
- Generate NuGet Package: This is the goal, so I enable this.
- I will also update all of the other package information that will be included.
I did a few other changes to the project, but not material to this goal, such as adding the README file to the solution for editing and adding an icon for the sample library.
Pingback: CI/CD Running Project Tests | Brent Scriver